
Are you tired of looking at your outdated kitchen appliances, wishing they matched the fresh vibe of your newly renovated space? You’re not alone.
Many people dream of a kitchen that looks cohesive and modern without breaking the bank on brand-new appliances. The good news is, you can achieve this seamless look by painting your kitchen appliances. Yes, you heard it right! With the right tools and techniques, you can transform your fridge, oven, or dishwasher into stylish pieces that complement your kitchen's aesthetic.
Imagine the satisfaction of seeing your kitchen come together just as you envisioned, with appliances that look brand new but didn’t cost you a fortune. Intrigued? Let’s dive into the step-by-step guide on how you can revamp your kitchen appliances with a simple coat of paint. Your dream kitchen is just a brushstroke away!
:max_bytes(150000):strip_icc()/kitchen-color-palette-TealGold-1023-877a03d461d04205aa0bc90e6f3786d8.jpg)
Credit: www.marthastewart.com
Choosing The Right Paint
Are you considering giving your kitchen appliances a fresh look? Choosing the right paint is crucial for a successful makeover. The paint you select will not only impact the final appearance but also the durability of your project. Let's dive into the essentials you need to know.
Types Of Paint For Appliances
Different paints serve different purposes. For kitchen appliances, you need paint that can withstand heat, moisture, and regular use. Appliance epoxy paint is a popular choice as it's specifically designed for this. It's durable and provides a smooth finish.
Another option is spray paint. It's easy to apply and can cover tricky surfaces. However, make sure it's suitable for appliances. Acrylic paint is versatile and can be used on various surfaces, but it might need a protective clear coat.
Have you ever wondered why some paints chip off easily? It’s often because they weren’t meant for high-use surfaces. Choosing the right type can save you time and effort.
Color Selection Tips
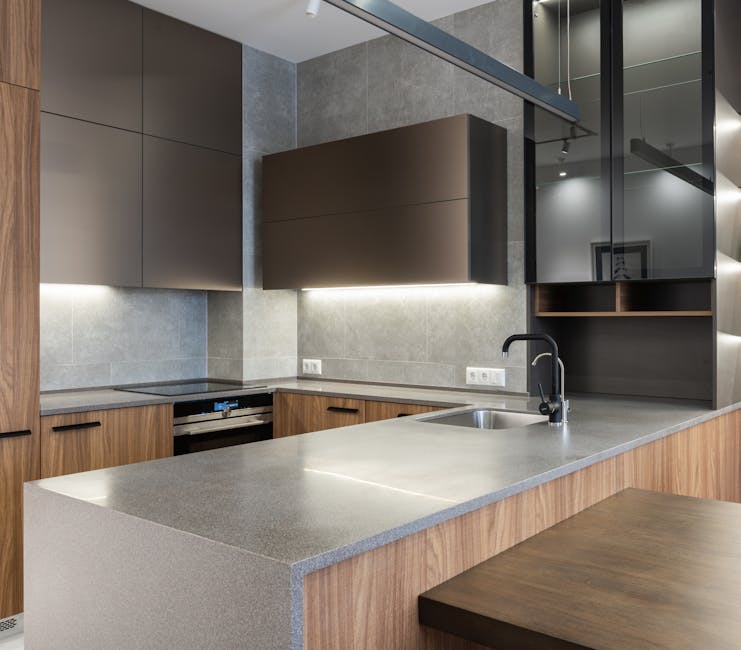
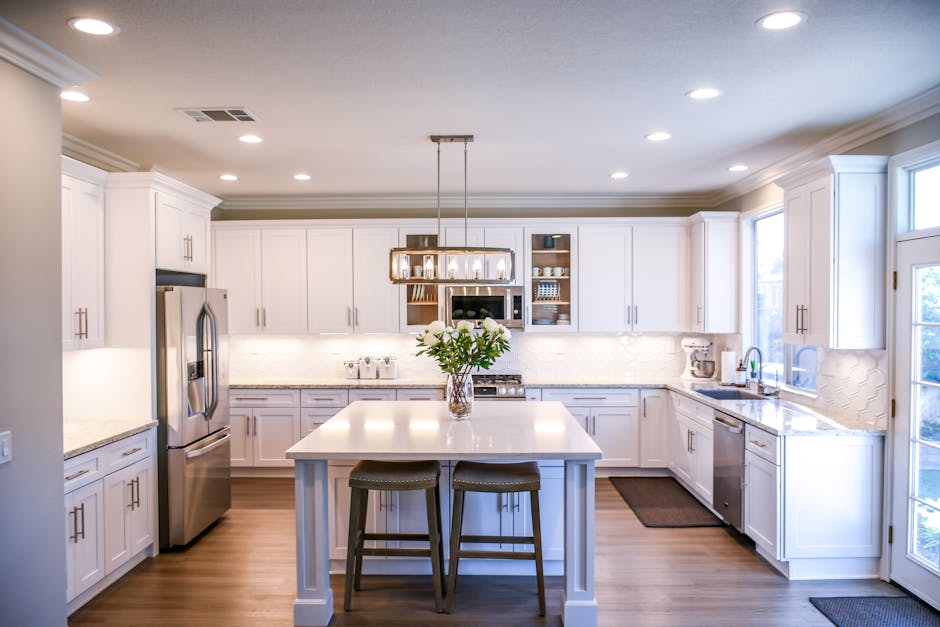
Choosing the perfect color can be daunting. Think about the overall kitchen theme. Do you want your appliances to blend in or stand out? A neutral color like white or grey can give a clean, modern look.
If you're feeling bold, consider a vibrant color. Red or navy blue can add a pop of personality to your space. But remember, bright colors might not work well with every style.
Before you decide, visualize how the color will look with your countertops and cabinets. Will it complement or clash? This simple step can prevent a mismatch.
Are you ready to transform your kitchen appliances with the right paint? Start by choosing the right type and color, and watch your kitchen come to life!
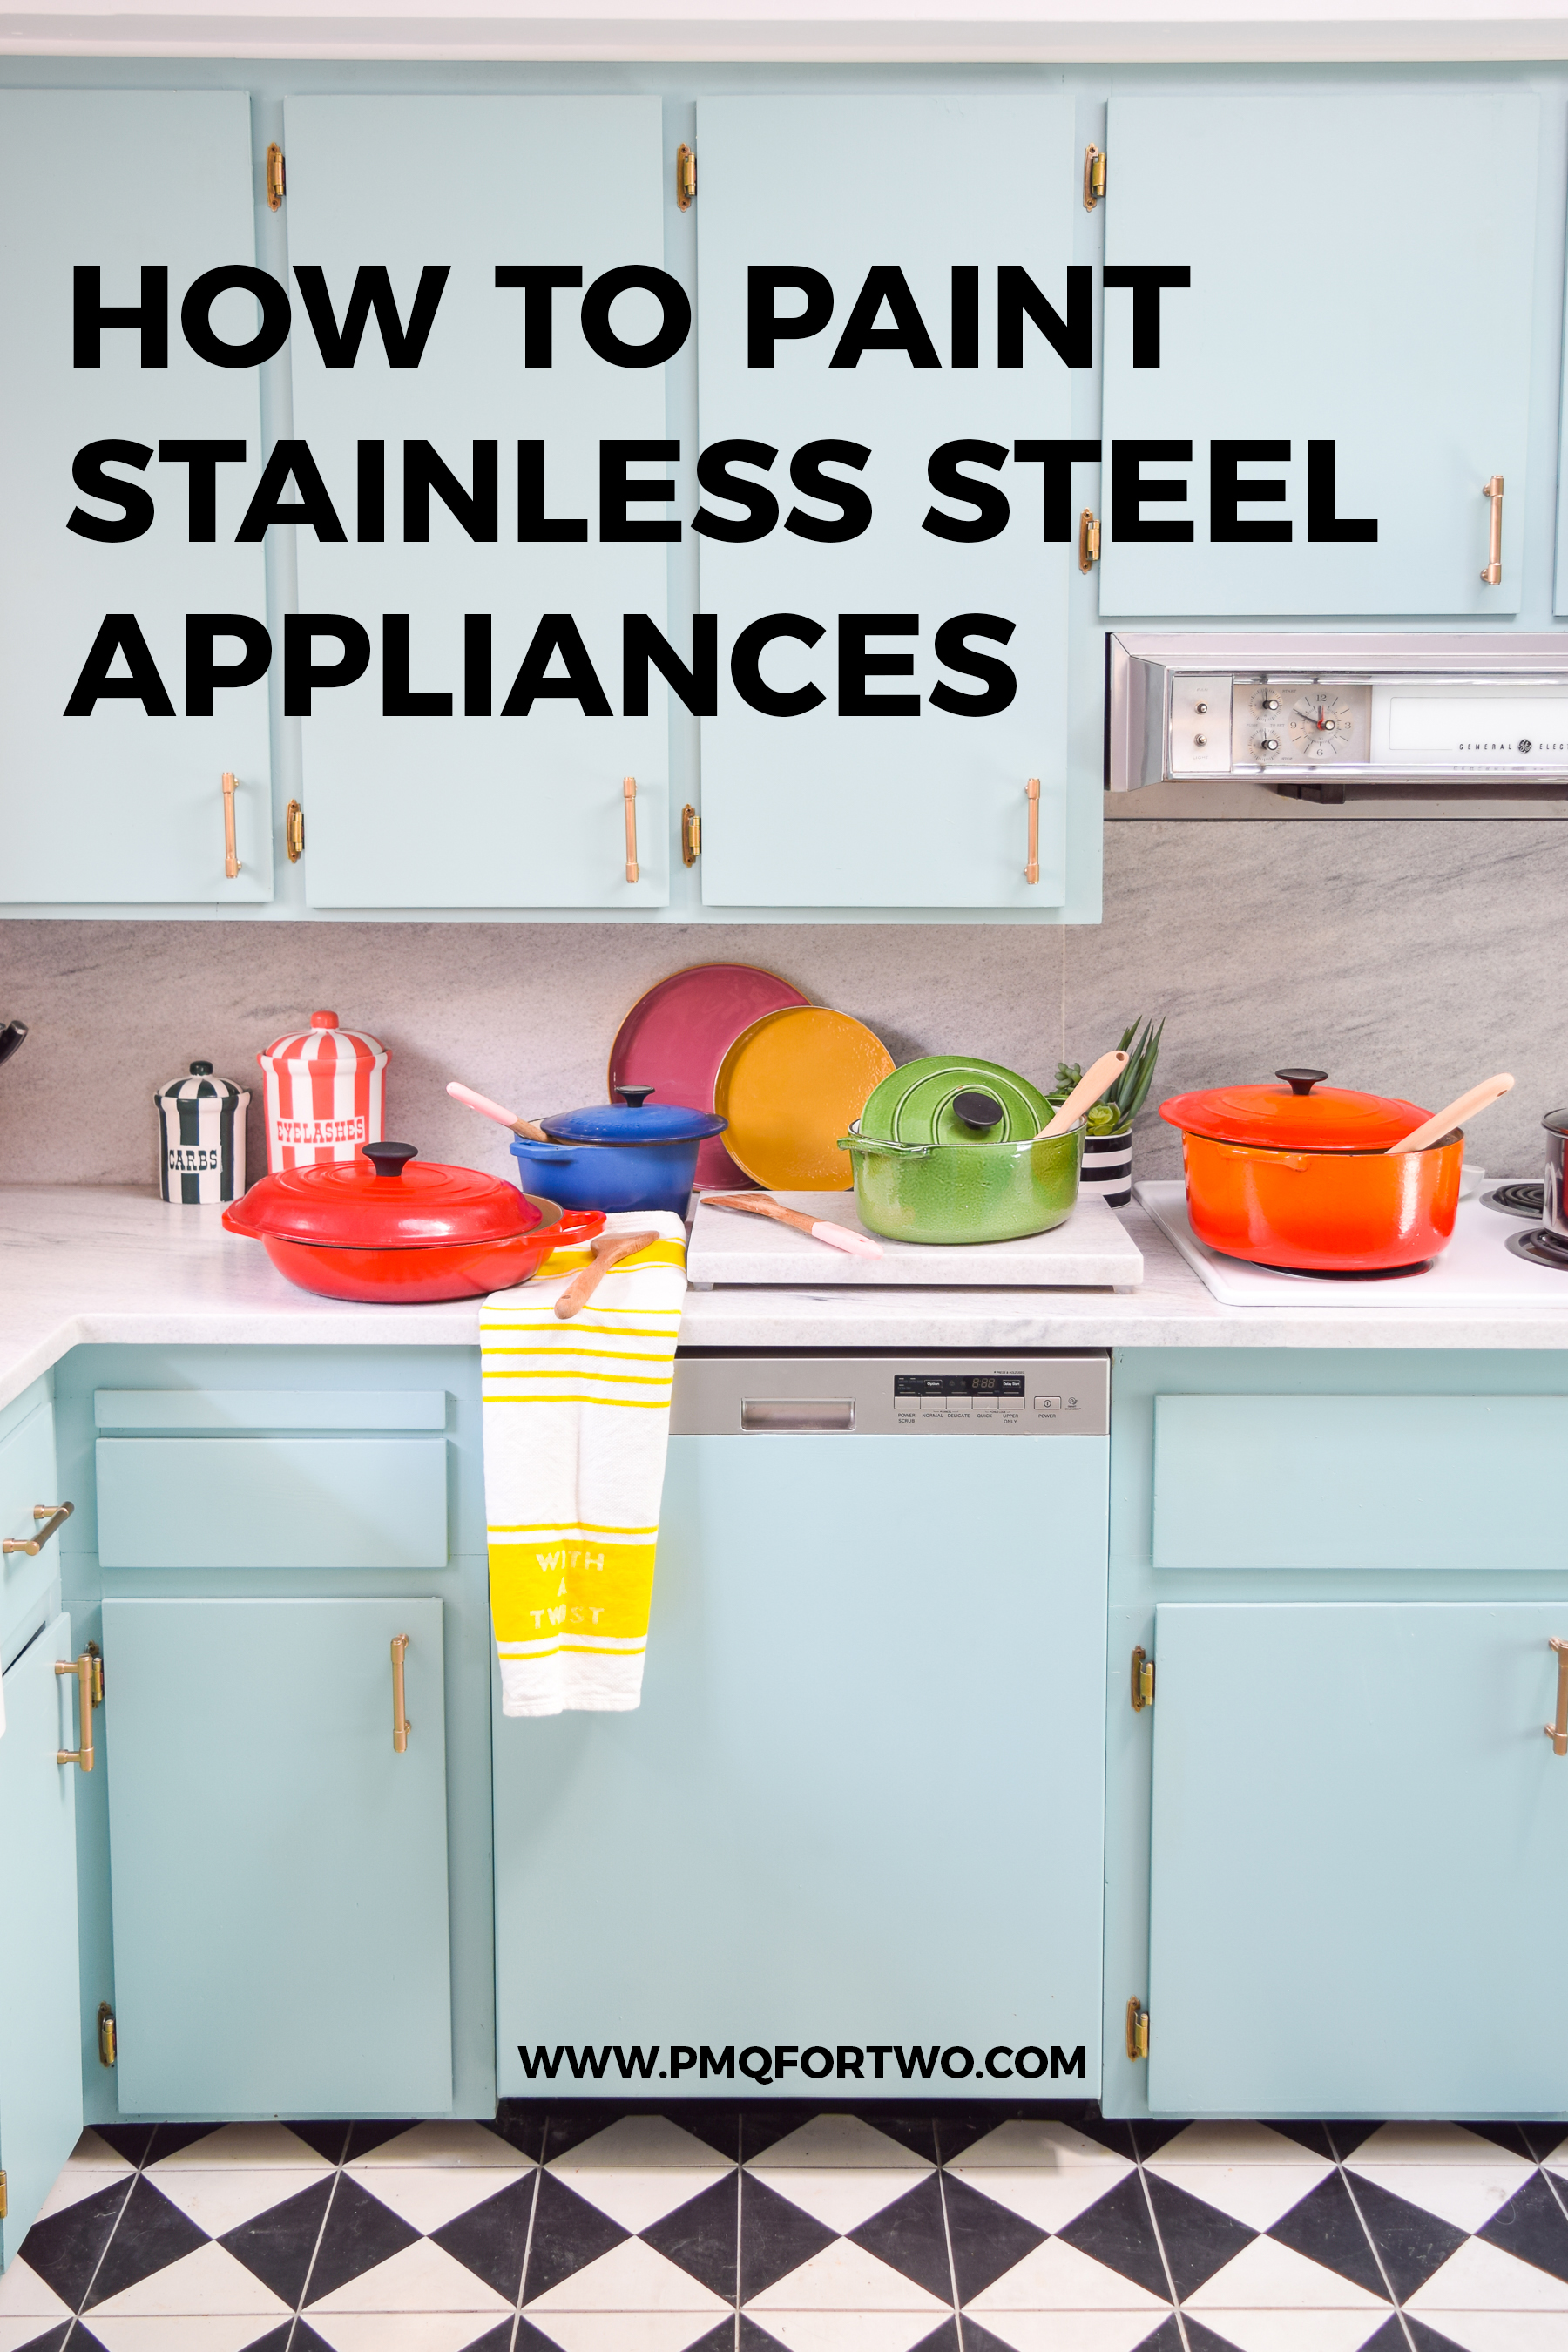
Credit: www.pmqfortwo.com
Gathering Essential Tools
Gathering essential tools is a crucial step in painting kitchen appliances. The right supplies make the process smoother and ensure a professional finish. Picture this: you're all set to transform your old fridge, but halfway through, you realize you're missing something essential. Frustrating, right? To avoid this, let’s dive into what you’ll need.
Must-have Supplies
Start with the basics. You’ll need high-quality appliance paint—choose a color that suits your style. Don’t forget sanding padsto prep the surface. Sanding is key to helping the paint stick and last longer.
A clean clothor towel is essential for wiping down surfaces before painting. Dust and grease can ruin your paint job. Additionally, a good primerensures the paint adheres properly, especially if you're working with a slick surface.
Most importantly, grab a set of paint brushes or spray paint cans. Spray paints offer an even coat, while brushes are great for detailed work. What's your preferred method?
Optional Tools For Better Results
Consider using a paint rollerfor large, flat surfaces. It saves time and provides a smooth finish. A roller is perfect for covering the broad sides of a fridge or dishwasher.
Investing in painter’s tapecan help you protect areas that shouldn't be painted, like handles or buttons. It's a small step that prevents messy edges and keeps your appliance looking polished.
Finally, a drop clothor old newspapers protect your floor from paint drips. This might seem trivial, but it saves you from cleaning up splatters later. Have you ever ended up scrubbing paint off tiles? Not fun!
Equipped with these tools, you're ready to give your kitchen appliances a fresh look. What color will you choose to breathe new life into your kitchen?
Preparing Your Appliances
Transform your kitchen with a fresh coat of paint on appliances. Start by unplugging and cleaning each appliance thoroughly. Sand surfaces lightly for better paint adhesion.
Are you ready to give your kitchen a fresh look without breaking the bank? Painting your appliances can breathe new life into your cooking space. But before you dive into the painting process, it's crucial to prepare your appliances properly. A good preparation phase ensures that the paint adheres well and lasts longer. Let's walk through the steps that will set you up for success.
Cleaning And Degreasing
Start by thoroughly cleaning your appliances. Remove any dust, grime, and grease. Use a mild detergent mixed with warm water for cleaning. A degreaser can be particularly helpful, especially for kitchen appliances that often deal with food splatters and oil stains. Think about the time you cooked that delicious fried chicken. Remember how the oil splattered everywhere? That's why degreasing is so important. A clean surface is essential for the paint to stick properly.
Sanding For Better Adhesion
After cleaning, sanding is your next step. Sanding roughens the surface, making it easier for the paint to grip. Use fine-grit sandpaper for this task. It’s like giving your appliance a gentle exfoliation. Have you ever painted over a glossy surface and watched the paint peel away? Sanding prevents this by ensuring better adhesion.
Taping And Protecting Areas
Once sanding is done, you need to tape and protect areas you don't want painted. This includes buttons, handles, and logos. Painter's tape is your best friend here. It’s easy to apply and remove. Picture the frustration of accidentally painting over the digital display of your microwave. Taping helps you avoid such mishaps and keeps your appliances looking professional. Remember, proper preparation is the key to achieving a smooth and lasting finish. What's your biggest challenge when painting appliances?
Painting Techniques
Painting kitchen appliances can transform your space. Choosing the right technique is vital. Each method has its benefits. Understanding these will help you achieve a smooth finish. Read on to explore different painting techniques.
Spray Painting Vs. Brush Painting
Spray painting offers an even finish. It covers surfaces quickly. This method is ideal for larger appliances. It provides a smooth, streak-free appearance. Spray painting requires good ventilation and safety gear.
Brush painting is more controlled. It suits smaller appliances. This technique allows for precision. It works well in confined spaces. Brush painting can leave visible strokes if not done carefully.
Layering And Drying Times
Layering is important for a durable finish. Apply thin coats for best results. Allow each layer to dry completely. This prevents smudging and peeling. Patience is key for perfect results.
Different paints have different drying times. Always check the instructions. Some paints dry faster than others. Ensure each layer is fully dry before adding another. This ensures a long-lasting finish.
Finishing Touches
Transforming kitchen appliances with paint requires careful preparation and technique. Begin by cleaning and sanding surfaces for better adhesion. Use appliance-safe spray paint for a smooth, durable finish.
After putting in the hard work to paint your kitchen appliances, the finishing touches are what truly bring the project together. These final steps not only enhance the appearance but also ensure the longevity of your new finish. It's all about adding that extra layer of protection and shine, making your appliances look professionally done.
Applying Sealant
Applying a sealant is crucial for preserving your freshly painted appliances. It acts as a protective barrier against scratches and everyday wear and tear. Choose a clear, non-yellowing sealant to maintain the true color of your paint. Use a foam brush or a spray can for even application. Ensure the paint is fully dry before sealing, typically after 24 hours. Think of sealant as a coat of armor, safeguarding your hard work.
Polishing For Shine
Once the sealant is dry, it's time to polish your appliances for a glossy finish. A good polish not only enhances the shine but also makes cleaning easier. It gives your appliances a sleek, modern look. Use a soft microfiber cloth to apply a gentle automotive polish. Rub in small circles to avoid streaks. Have you ever noticed how a bit of shine can change the entire look of a kitchen? Remember, the key to a successful paint job lies in these final steps. They might seem minor, but they make a significant difference in both appearance and durability. Take your time, and don't rush through the finishing touches. You'll be glad you did when you see your kitchen gleaming with its new look.
Maintenance Tips
Painting kitchen appliances can refresh your space. But maintaining their new look is key. Proper care ensures your efforts last. Here are some tips to keep painted surfaces pristine.
Cleaning Painted Surfaces
Use a soft cloth for cleaning. Avoid harsh scrubbing. Gentle cleaners work best. Choose non-abrasive products. Diluted soap and water suffice. Rinse and dry thoroughly. This prevents residue buildup. Clean regularly to maintain shine.
Handling Wear And Tear
Inspect painted areas often. Look for chips or scratches. Address these quickly. Use touch-up paint as needed. This prevents further damage. Keep appliances away from direct heat. Heat can fade paint. Consider protective covers if necessary. This helps preserve the finish.

Credit: melissadoyledesigns.com
Frequently Asked Questions
How Do I Prepare Appliances For Painting?
Clean appliances thoroughly with soap and water. Remove any grease or grime. Sand the surface lightly to create texture. This helps paint adhere better. Wipe away dust with a damp cloth. Use painter’s tape to cover areas you don’t want painted.
What Type Of Paint Is Best For Appliances?
Use appliance epoxy paint for best results. It is designed for metal surfaces and provides a durable finish. Spray paint offers a smooth application. Choose heat-resistant paint for surfaces exposed to high temperatures.
Can I Paint Stainless Steel Appliances?
Yes, you can paint stainless steel appliances. Clean and sand the surface before painting. Use a primer to ensure better adhesion. Select a paint suitable for metal. Epoxy paint provides a durable finish. Apply thin coats for even coverage.
How Long Should I Wait For Paint To Dry?
Wait at least 24 hours for the paint to dry. Drying time may vary based on conditions. Ensure the area is well-ventilated. Check manufacturer's instructions for specific drying times. Touch the surface lightly to test dryness.
Conclusion
Painting kitchen appliances can refresh your space. It’s an easy update. Choose the right paint for your appliances. Clean and prepare surfaces well. Apply primer for better adhesion. Use smooth, even strokes for painting. Let each coat dry completely. This ensures a lasting finish.
Add a sealant for extra protection. Your kitchen will look fresh and modern. With patience and care, you achieve great results. Enjoy your revamped kitchen.