Are you tired of cluttered countertops and overflowing cabinets? Imagine walking into your kitchen and everything has its place.
A well-organized kitchen pantry storage cabinet could be the solution you've been dreaming about. Not only does it enhance the look of your kitchen, but it also makes cooking and meal prep a breeze. You're about to discover how easy it can be to build your own.
With just a few tools and some handy tips, you'll transform your kitchen chaos into a haven of order. Ready to reclaim your kitchen space and enjoy a more organized life? Let's dive in and get started!
Planning Your Pantry Cabinet
Designing a kitchen pantry storage cabinet involves selecting sturdy materials and efficient shelving. Measure your space carefully to ensure a perfect fit. Incorporate adjustable shelves for flexibility and organize items by frequency of use.
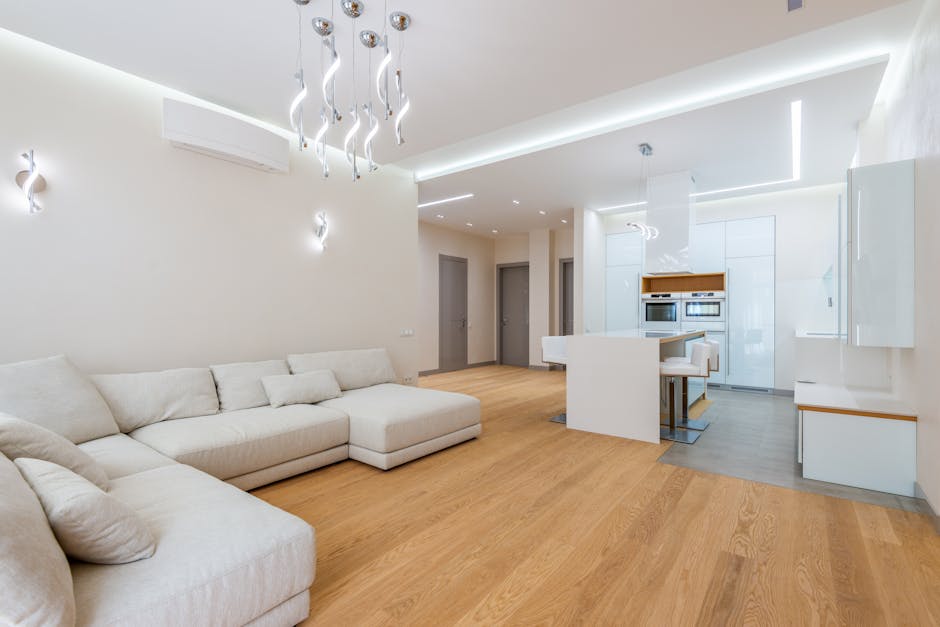
Planning your pantry cabinet is the first step towards transforming your kitchen into a more organized and efficient space. Whether you're a culinary enthusiast or someone who simply loves a tidy kitchen, a well-planned pantry cabinet can make a significant difference in how you store and access your ingredients. It can be a game-changer in reducing clutter and enhancing your cooking experience. Ready to get started on creating your dream pantry cabinet? Let's dive into the essentials of planning it effectively.
Assessing Your Space
Begin by evaluating the available space in your kitchen. Measure the dimensions carefully, noting any obstructions like pipes or electrical outlets. Consider how much storage you need. Do you have a large collection of spices and canned goods, or is your focus on bulk items like grains and pasta? Reflect on your kitchen habits. Are you someone who enjoys stocking up on essentials, or do you prefer keeping only the basics? Your storage needs will guide your design choices.
Designing The Layout
Sketch out a basic layout of your pantry cabinet. Visualize where shelves, drawers, and baskets will go. Prioritize accessibility. Place frequently used items at eye level and reserve lower shelves for bulkier items. Think about the flow. How will you move around the kitchen while cooking? Ensure the pantry complements your workflow.
Choosing Materials
Select materials that match your kitchen's style. Do you prefer a modern look with sleek finishes, or are you drawn to rustic charm with wooden textures? Consider durability. Cabinets endure daily wear and tear, so choose materials that withstand spills and scratches. Explore your budget. Are you investing in high-end materials, or is cost-effectiveness your priority? Balance aesthetics with affordability. Does planning your pantry cabinet feel like a daunting task, or are you excited to see it come together? Remember, each choice shapes your cooking space, making it uniquely yours.

Credit: www.tiktok.com
Gathering Necessary Tools
Start by collecting essential tools for building a kitchen pantry storage cabinet. Gather a saw, measuring tape, drill, and screws. Make sure you have the right materials like wood panels and hinges for smooth assembly.
Building a kitchen pantry storage cabinet can transform your kitchen space. Before diving into the construction phase, gather all necessary tools. This preparation ensures a smooth and efficient process. Proper tools make your project manageable and enjoyable. Let's explore the essentials for this exciting task.
Essential Tools List
A tape measure is crucial for accurate measurements. A power drill simplifies the assembly process. Screwdrivers are needed for tightening screws. A circular saw assists with cutting wood panels. Sandpaper smooths rough edges for a polished finish. Use a level to ensure surfaces are even. A hammer is handy for securing nails.
Safety Gear Recommendations
Safety goggles protect your eyes from dust and debris. Use gloves to safeguard your hands from splinters. A dust mask is important when cutting wood. Ear protection can prevent hearing damage from loud tools. Wear sturdy shoes to protect your feet from falling objects.
Preparing The Workspace
Building a kitchen pantry storage cabinet requires a well-prepared workspace. A clean and organized area makes the project smoother. Start with ensuring your space is ready. This sets the foundation for efficient work.
Clearing The Area
First, clear the area of any clutter. Remove unnecessary items from the workspace. This prevents accidents and keeps your tools within reach. A tidy space enhances focus and productivity. Ensure you have enough room to move freely.
Setting Up A Workbench
Next, set up a sturdy workbench. Choose a flat surface to work on. Ensure it's strong enough to support your materials. Arrange your tools in a convenient layout. Keep essential tools close at hand. This saves time and effort during the build.
Cutting And Preparing Materials
Start by cutting wood panels to the desired size using a saw. Sand edges for a smooth finish. Prepare all materials, including hinges and screws, ensuring everything is ready for assembly.
Cutting and preparing materials is an essential step in building your kitchen pantry storage cabinet. This process involves precision and care to ensure all components fit together seamlessly. By following a structured approach, you can achieve professional results without the need for advanced carpentry skills. Below, we'll break down the steps involved in measuring, cutting, and sanding to help you create a sturdy and functional pantry cabinet.
Measuring And Marking
Start by gathering all necessary materials and tools. Accurate measurements are crucial for a perfect fit. Use a tape measure to determine the dimensions of each cabinet piece. Write down these measurements clearly. Mark each piece of wood with a pencil. Ensure the marks are precise and easy to see. Double-check your measurements before moving on. Mistakes at this stage can lead to costly errors later.
Cutting Wood Panels
With measurements marked, proceed to cutting. Use a saw suitable for your wood type. A circular saw is often preferred for straight cuts. Make sure the saw blade is sharp. Follow the pencil marks carefully as you cut. Take your time to ensure accuracy. A steady hand helps achieve clean edges. Wear safety glasses to protect your eyes.
Sanding Edges
After cutting, sanding edges is next. This smooths out rough surfaces and sharp edges. Use sandpaper or a sanding machine for best results. Start with coarse grit to remove imperfections. Gradually switch to finer grit for a smooth finish. Pay extra attention to corners and edges. Smooth surfaces improve the cabinet's appearance and safety. Dust off any wood particles after sanding.
Assembling The Frame
Building the frame is the initial step in creating a kitchen pantry storage cabinet. Align and connect the wooden pieces securely to ensure stability. Use screws to fasten the joints, creating a solid base for the cabinet.
Building a kitchen pantry storage cabinet can be a rewarding DIY project that not only enhances your kitchen's functionality but also adds a personal touch to your home. The process of assembling the frame is crucial as it forms the backbone of your pantry cabinet. It's the stage where precision meets creativity, ensuring that your cabinet will be both sturdy and stylish. Let’s dive into the details of this essential step.
Joining The Panels
Begin by laying out all your panels on a flat surface. This helps you visualize the structure and ensures you have all the necessary pieces. Align each panel precisely, checking that the edges are flush. Use wood glue to join the panels before fastening them. This adds extra strength to the joints. Remember to wipe off any excess glue immediately to prevent staining. A personal tip: I once assembled a cabinet with slightly misaligned panels, which resulted in a wobbly structure. Double-checking alignment at this stage can save you time and frustration later.
Securing With Screws
After the glue has set, secure the panels with screws. This is where you ensure the cabinet's durability. Use a power drill for efficiency, but be cautious not to over-tighten, which can damage the wood. Choose screws that are appropriate for your wood type and thickness. This ensures a solid hold without splitting the material. A useful habit is to pre-drill holes to prevent wood from cracking. Imagine the satisfaction of knowing you’ve built something sturdy enough to last. Isn’t it worth taking the time to secure each joint correctly? Building the frame of your kitchen pantry storage cabinet can be a fun and fulfilling experience. By paying attention to detail in joining the panels and securing them with screws, you lay the foundation for a cabinet that will serve you well for years to come. What’s your favorite part of the building process?

Credit: southernyankeediy.com
Installing Shelves
Building a kitchen pantry storage cabinet involves installing sturdy shelves. Use durable materials for lasting support. Ensure the shelves are level for stability.
Installing shelves in your kitchen pantry storage cabinet is like adding the final touches to a masterpiece. It's where you decide how your space will function and how accessible your items will be. Making the right decisions during this stage can transform your pantry from cluttered chaos into an organized haven.
Determining Shelf Placement
First, think about what items you'll be storing. Tall cereal boxes, shorter canned goods, or oddly shaped kitchen gadgets? Your shelf placement should accommodate the tallest items while maximizing the overall space. Measure the height of these items and plan your shelf spacing accordingly. Consider the frequency of use. Items you grab daily should be on shelves at eye level or slightly below. This makes retrieval effortless and minimizes the risk of spills. Less frequently used items can be stored higher up. Adjustable shelves offer flexibility. You can easily change their position as your storage needs evolve. Remember, the goal is to make your pantry work for you, not the other way around.
Attaching Shelf Supports
Start by selecting the right supports. Strong brackets or shelf pins? Each has its pros and cons. Brackets are sturdier and can support heavier loads, while pins offer a cleaner look and easier adjustability. Choose based on your needs and the weight of your pantry items. Ensure your supports are level. Use a spirit level to check that each support is perfectly horizontal. A sloping shelf can lead to items tipping over, turning your neatly organized pantry into a mess. Secure the supports to the cabinet walls using screws or appropriate fasteners. If you're attaching into drywall, use anchors for added stability. This ensures that your shelves can handle the weight of your storage without any risk of collapse. Have you ever experienced the frustration of sagging shelves? Proper support and installation can save you from this common headache. As you work, imagine the satisfaction of opening your pantry to find everything just where you need it.
Adding Doors And Hardware
Adding doors and hardware completes your kitchen pantry storage cabinet. Choose sturdy hinges and handles for durability. Ensure door alignment for smooth operation and a polished look.
Adding doors and hardware to your kitchen pantry storage cabinet can transform its look and functionality. Properly aligned doors and well-chosen hardware can make your pantry both stylish and accessible. Whether you're aiming for a sleek modern look or a rustic charm, this step is crucial in bringing your vision to life.
Hanging The Doors
Start by ensuring that your cabinet's frame is level and sturdy. This will make hanging the doors much easier. Use a spirit level to double-check the alignment. Next, attach the hinges to the doors before mounting them on the cabinet. Mark the spots for the hinges and pre-drill the holes to avoid splitting the wood. Have you considered the door swing? Decide whether you want them to open outward or inward. This can affect accessibility, so think about your kitchen layout. Once you're ready, secure the hinges to the cabinet frame. Use a screwdriver for more control. If you have a helping hand, ask them to hold the door steady as you work.
Installing Handles And Knobs
Choose handles or knobs that match your kitchen's aesthetic. Are you going for a minimalist feel or something more ornate? Measure the placement carefully to ensure consistency across all doors. Use a template or a piece of cardboard to mark the spots where the handles or knobs will go. Pre-drill the holes to make the installation easier and avoid damaging your doors. A small tip: place a piece of painter's tape on the spot before drilling to prevent the wood from chipping. Finally, screw the handles or knobs into place. Use a manual screwdriver for the final tightening to avoid over-tightening, which can strip the screws. How will you choose the perfect hardware to complement your pantry? Consider how often you use your pantry and the overall kitchen design. Little details like these can make all the difference.
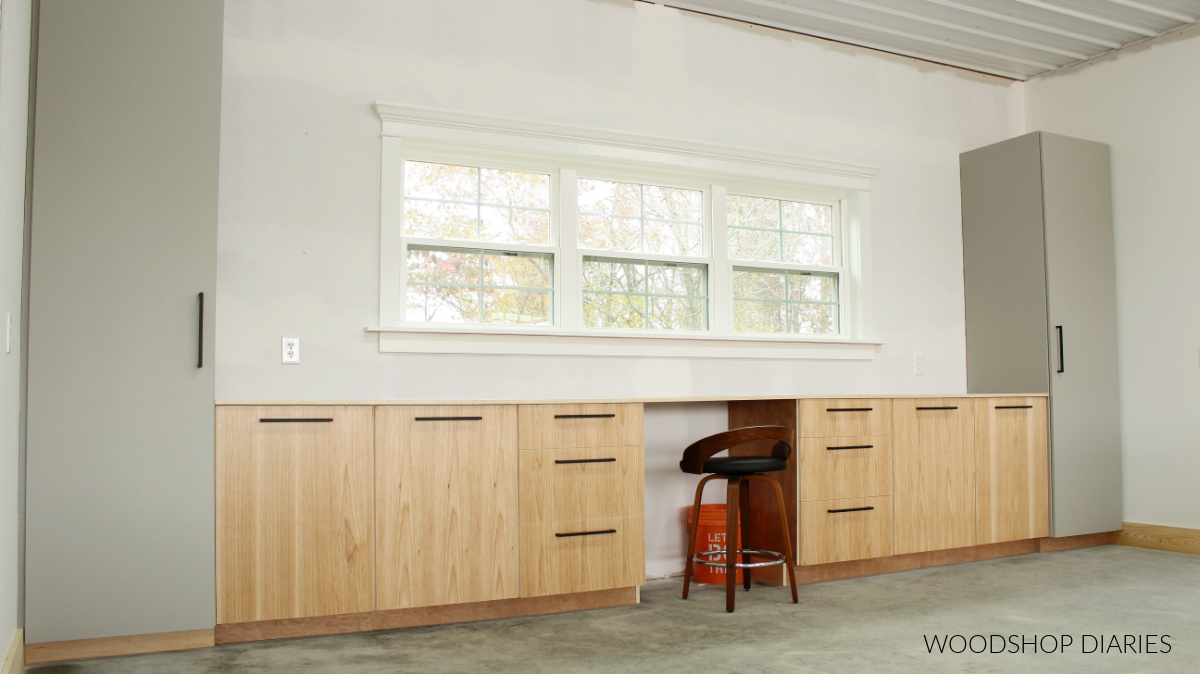
Credit: www.woodshopdiaries.com
Finishing Touches
Crafting a kitchen pantry storage cabinet involves careful planning and attention to detail. Choose quality materials and tools for sturdy construction. Consider the layout to maximize space and accessibility. Thoughtful finishing touches, like paint or varnish, ensure a polished look that complements your kitchen decor.
Building your own kitchen pantry storage cabinet is a rewarding journey. You've cut, assembled, and secured everything in place. Now, it's time for the finishing touches that will transform your hard work into a masterpiece. This final stage is where your pantry cabinet comes to life, showcasing your style and attention to detail. Ready to make it shine?
Applying Paint Or Stain
Deciding between paint and stain is your first step. Paint offers a pop of color and can brighten up your kitchen. Think about your kitchen's color scheme and choose a shade that complements it. If you prefer the natural beauty of wood, opt for a stain. It highlights the grain and adds a rustic charm. Applying stain is straightforward. Use a brush or rag, and remember to wipe off excess for an even finish. Have you ever painted a cabinet and noticed brush marks? A tip: use a foam roller for a smooth, professional look. It’s a simple step that makes a big difference.
Sealing For Protection
After painting or staining, your cabinet needs protection. Sealing is essential to guard against spills, stains, and daily wear and tear. Choose a clear polyurethane sealant for durability. It’s like adding an invisible shield. Apply it with a brush in thin, even coats. Let each layer dry completely before adding another. Have you ever skipped sealing and regretted it later? Picture a coffee spill on your beautiful cabinet. Sealing prevents such disasters and keeps your hard work intact. Are you ready to add those finishing touches? These steps not only enhance the look but also ensure your pantry cabinet stands the test of time. Your kitchen will thank you for it.
Organizing Your Pantry
Building a kitchen pantry storage cabinet can transform your space. Choose sturdy materials and plan shelves for easy organization. Install adjustable shelves to customize storage for different items.
Organizing your pantry might seem like a daunting task, but it can transform your kitchen experience. Imagine opening your cabinet doors to find everything in its place, easily accessible, and aesthetically pleasing. Whether you have a small space or a large kitchen, organizing your pantry effectively can make cooking more enjoyable and efficient. Let's dive into some practical ways to turn your pantry chaos into order.
Maximizing Space
Maximizing space is the cornerstone of pantry organization. Start by assessing the available space and identifying areas that can be optimized. Consider adjustable shelving; it’s a game-changer that lets you customize the height of shelves to fit your items perfectly. Use vertical space wisely. Stack items and add hooks for hanging lightweight objects, like bags of snacks. You’d be surprised at how much room is wasted at the top of shelves. You might find you have more space than you thought! Think about the layout of your pantry. Place frequently used items at eye level for easy access. Reserve lower and higher shelves for items you use less often. This simple strategy can save you time and reduce clutter.
Using Storage Containers
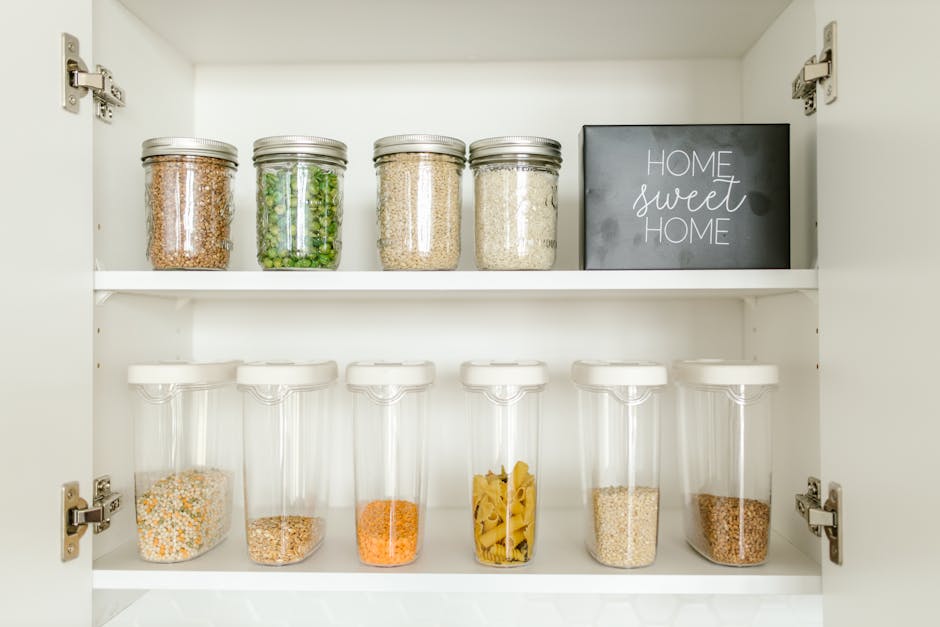
Storage containers can dramatically improve your pantry organization. Clear containers are particularly useful; they allow you to see contents at a glance, eliminating the need to rummage through bags and boxes. Choose containers that stack neatly to save space. Label your containers. You’d be amazed at how much easier meal prep becomes when you know exactly where everything is. Use a label maker or simply write directly on the container with a permanent marker. Think beyond traditional containers. Use baskets for larger items or groups of smaller items, like baking ingredients. Consider using jars for grains and pasta. This can add a touch of style to your pantry while keeping it organized. How do you keep your pantry organized? What tricks have you discovered that make life easier in the kitchen? Organizing your pantry is not just about neatness—it's about creating a space that works for you and enhances your cooking experience. Dive in, try these tips, and enjoy the transformation!
Frequently Asked Questions
What Materials Are Best For A Pantry Cabinet?
Wood is a popular choice for pantry cabinets due to its durability. Plywood is cost-effective and strong, while MDF offers a smooth finish. Metal cabinets are sturdy and modern, ideal for contemporary kitchens. Choose materials based on budget, style, and kitchen environment.
How Do I Choose The Right Cabinet Size?
Consider available space and pantry needs when selecting cabinet size. Measure your kitchen area carefully to ensure a good fit. Think about storage requirements, like shelves for canned goods or baskets for produce. Design your cabinet to maximize space and functionality.
Can I Customize My Pantry Cabinet Design?
Yes, customizing your pantry cabinet is possible and recommended. Tailor the design to fit your kitchen style and storage needs. Add adjustable shelves or pull-out drawers for flexibility. Consider including spice racks, wine holders, or baskets to enhance functionality and aesthetics.
How Do I Install A Pantry Cabinet?
Begin by measuring the space accurately. Secure the cabinet to the wall using brackets for stability. Ensure the cabinet is level and adjust as needed. Follow manufacturer's instructions for a precise installation. Seek professional help if unsure, for a safe and secure setup.
Conclusion
Building a kitchen pantry storage cabinet is a rewarding project. It enhances your kitchen's organization and functionality. Start with a clear plan and gather all necessary materials. Ensure your measurements are accurate for a perfect fit. Assemble the pieces carefully, following each step closely.
Paint or stain the cabinet to match your kitchen decor. Add shelves and organizers for efficient storage. A well-built pantry cabinet keeps your kitchen tidy. Plus, it adds value to your home. So, take your time and enjoy the process.
You'll love the extra space and convenience it brings.