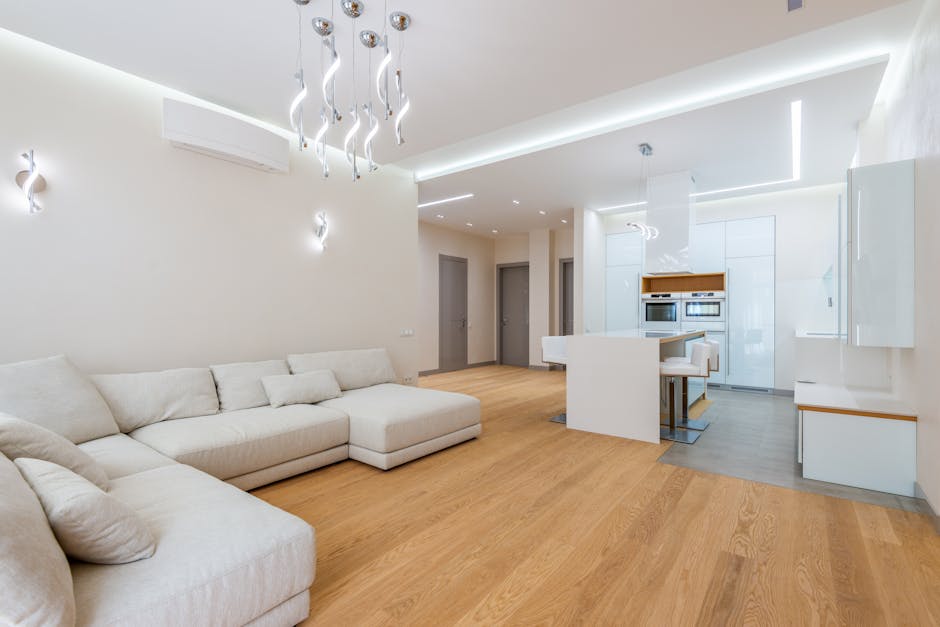

Imagine transforming your kitchen into a cozy haven where functionality meets style. A kitchen corner bench with storage is not just a piece of furniture; it's a game-changer.
It maximizes your space, adds a touch of charm, and offers a practical storage solution. But how do you go about building one yourself? This guide will walk you through the process, step by step, ensuring you have everything you need to create a bench that suits your space and taste.
Whether you're a DIY enthusiast or just looking to add some personal flair to your home, you'll find this project both rewarding and enjoyable. So, if you're ready to unleash your creativity and enhance your kitchen's appeal, keep reading. You won't want to miss the tips and tricks we've gathered for you!

Credit: www.youtube.com
Planning Your Kitchen Corner Bench
Planning your kitchen corner bench is an exciting journey that begins with envisioning a cozy nook that maximizes space and functionality. Every detail from choosing the location to measuring your area and selecting a design plays a vital role. Imagine sipping morning coffee on a bench that not only fits perfectly in your kitchen but also complements your style.
Choosing The Right Location
Your bench's location can transform your kitchen's atmosphere. Consider areas that are underutilized, perhaps a corner that could benefit from a touch of charm. Is there a window nearby that invites natural light? You might find joy in watching the sunrise while enjoying your breakfast. Choose a spot that feels inviting and fits seamlessly into your daily routine.
Measuring Your Space
Accurate measurements are crucial to ensure your bench fits perfectly. Grab a measuring tape and jot down the dimensions of your chosen corner. Pay attention to any obstructions like radiators or outlets. How will you accommodate them in your design? A precise fit will enhance both aesthetics and utility, making your bench a natural part of your kitchen.
Design And Style Considerations
What style resonates with you? Contemporary, rustic, or a blend of both? Your bench should reflect your personality and the overall theme of your kitchen. Consider colors and materials that complement existing elements. Would you prefer wood for warmth or sleek metal for a modern touch? Think about the storage options too. Shelves or drawers can provide extra space for kitchen essentials, making your bench not just a seat but a functional addition.
As you plan your bench, envision how it will enhance your kitchen experience. Will it be a place for family gatherings, or a quiet corner for reading? Your choices in location, measurements, and design will shape not just a piece of furniture, but a cherished part of your home. What will your kitchen corner bench become for you?
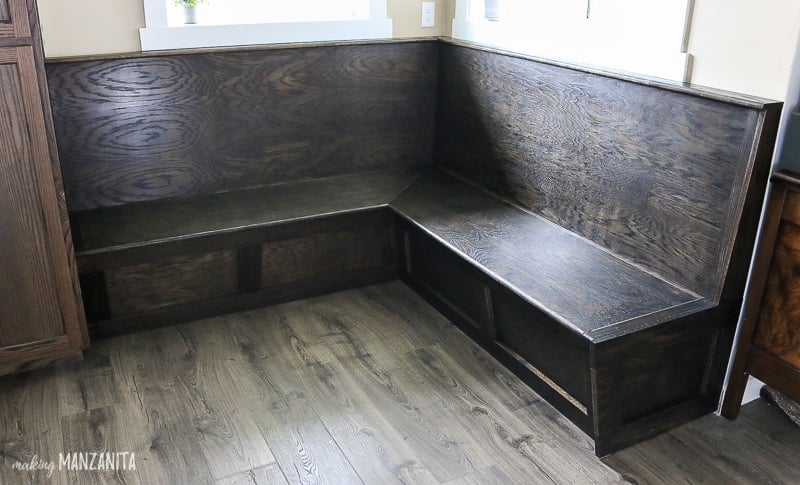
Credit: www.makingmanzanita.com
Gathering Materials And Tools
Start by gathering essential materials like wood, screws, and hinges for your kitchen corner bench. Don't forget tools such as a saw, drill, and measuring tape to ensure precision in your project.
Building a kitchen corner bench with storage is a rewarding project that adds both functionality and charm to your home. Before you dive into construction, gathering the right materials and tools is crucial. This step ensures your project goes smoothly and efficiently, saving time and preventing frustration. Whether you're a seasoned DIY enthusiast or a beginner, having the right items at hand sets a strong foundation for success.
Essential Tools List
To start, you'll need a measuring tape for precise dimensions. A circular saw or jigsaw will help you cut the wood to your specifications. Use a drill for assembling the parts, and make sure you have a selection of drill bits. A screwdriver, preferably electric, will save you time and energy. Don’t forget a level to ensure your bench is perfectly balanced. Sandpaper or a sander will be useful for smoothing out surfaces, and finally, a hammer and nails for any additional fastening required.
Selecting Quality Materials
Choosing the right materials is like picking the best ingredients for a recipe. You want durability and aesthetic appeal. Opt for hardwood like oak or maple for strength and longevity. Plywood can be used for the base and sides, offering a balance between cost and sturdiness. Consider using high-quality hinges for the storage lids to ensure smooth opening and closing. Think about the finish; a water-resistant varnish can protect your bench from kitchen spills.
Budgeting For Your Project
Budgeting is often overlooked but crucial. A good strategy is to list all materials and tools required, then research costs online or visit local stores. Are you surprised by the total? Consider alternatives, such as reclaimed wood, which can reduce expenses significantly. You might also borrow or rent tools to keep costs down. Remember, investing in quality materials can save money in the long run by reducing maintenance needs. Have you planned for unexpected costs? Setting aside a small buffer in your budget can prevent stress if prices fluctuate. Gathering materials and tools for your kitchen corner bench is more than a checklist. It's about setting the stage for a seamless project. What are your thoughts on quality versus cost when selecting materials?
Building The Frame
Crafting a kitchen corner bench with storage involves building a sturdy frame first. This provides a strong base for seating and storage. Use quality wood to ensure durability and style.
Building a kitchen corner bench with storage is not just a practical solution; it’s a rewarding project that enhances your kitchen's functionality. The most crucial step in this process is building the frame, as it provides the foundation and determines the bench's durability. Crafting a sturdy frame ensures your bench will withstand daily use and provide ample storage.
Cutting The Wood Pieces
Begin by selecting high-quality wood, like pine or plywood, which are both durable and easy to work with. Measure the corner space carefully to ensure a snug fit for your bench. Once measured, cut the wood pieces according to your design plan using a saw, ensuring each piece is cut precisely to avoid any misalignment later. Label each piece as you cut to avoid confusion during assembly. This step might seem mundane, but it’s the difference between a perfect fit and a frustrating redo. Remember, accurate cuts lay the groundwork for a smooth assembly.
Assembling The Base
Start assembling by laying out the base pieces on the floor. Connect them using wood screws and brackets, focusing on aligning each piece accurately. A square or level tool can be your best friend here, ensuring you maintain right angles and a balanced structure. Secure each joint tightly. Loose connections can lead to a wobbly bench, so take your time to fasten everything securely. This is where your bench begins to take shape, and you get a sense of the space it will occupy.
Ensuring Structural Stability
Reinforce the frame by adding support beams. These beams not only enhance the structural integrity but also prevent sagging over time. Place them strategically, focusing on areas that will bear the most weight. Consider how the bench will be used. Will it frequently support multiple people? If so, additional supports might be necessary. Testing the frame by applying some pressure can help you gauge if further reinforcement is needed. Have you ever built something and found it wobbly later? Ensuring stability now saves you from future frustration. A sturdy frame not only offers peace of mind but also enhances the lifespan of your corner bench.
Creating The Storage Compartments
Building storage compartments in a kitchen corner bench adds practical space. Start by measuring the bench area accurately. Use durable materials to create sturdy compartments, ensuring easy access.
Building a kitchen corner bench with storage is a rewarding project that not only enhances your kitchen's functionality but also utilizes space effectively. Creating the storage compartments is a crucial step in this process, ensuring that your bench is not just for seating but also for keeping kitchen essentials organized. Let’s dive into designing storage solutions, building storage sections, and incorporating hinges and lids.
Designing Storage Solutions
Before grabbing your tools, take a moment to plan how you want to use the storage. Do you need space for pots and pans? Or perhaps a place for cookbooks and linens? Consider what you frequently use in your kitchen and tailor the compartments to fit those items. This is your chance to maximize the utility of the space. Sketch out your ideas. Use graph paper for precision. This helps visualize the space and ensures you’re not overcomplicating the design.
Building Storage Sections
Once you have a clear design, it’s time to build. Start by measuring the dimensions of your corner space. Accurate measurements are crucial to avoid any future headaches. Use plywood or MDF for the sections. These materials are sturdy and easy to work with. Cut them to fit your design specifications. Assemble the pieces using screws and wood glue. Make sure everything is secure and stable. You don’t want your storage sections falling apart after a few uses.
Incorporating Hinges And Lids
Adding hinges and lids to your storage compartments turns them into easily accessible spaces. Choose durable hinges that can withstand frequent opening and closing. Attach the hinges to the lids before fixing them to the bench. This ensures they are perfectly aligned and can open smoothly. Consider soft-close hinges. These prevent slamming and protect your fingers from accidental pinching. Plus, they add a touch of luxury to your DIY project. Creating storage compartments in your kitchen bench is more than just building; it's about making your kitchen work for you. How will you ensure your corner bench meets both your seating and storage needs?
Adding The Seating Surface
Secure the seating surface with sturdy materials like plywood for durability. Attach it firmly to the bench frame. This ensures a comfortable and supportive seat while providing hidden storage space underneath.
Adding a seating surface to your kitchen corner bench enhances its functionality. It transforms a simple storage unit into a cozy seating area. This step is crucial for comfort and aesthetics. It involves selecting cushions, installing the seating area, and ensuring safety. Each step requires careful planning and attention to detail.
Selecting Comfortable Cushions
Choose cushions that complement your kitchen decor. They should be thick enough for comfort. Opt for durable, washable materials. Consider foam or memory foam for added comfort. Bright colors or patterns can add charm. Ensure the cushions fit the bench perfectly.
Installing The Seating Area
Begin by measuring the bench dimensions accurately. Cut a sturdy plywood piece for the base. Secure it to the bench frame with screws. This plywood will support the cushions. Use a level to ensure it’s even. A stable base ensures comfort and safety.
Ensuring Safety And Comfort
Check for sharp edges around the bench. Sand them down to avoid injuries. Make sure all screws are tight and secure. Test the bench stability before regular use. Add non-slip pads under cushions to prevent sliding. Comfort and safety go hand in hand.
:strip_icc()/corner-bench-seating-kitchen-BLz-IKT84gaB-rdYqPvZj4-53b25e88ba8246c0bd3fd5e02c9b28fc.jpg)
Credit: www.bhg.com
Finishing Touches
Adding finishing touches to a kitchen corner bench with storage creates a cozy and functional space. Paint or stain enhances the appearance, while cushions offer comfort. Decorative accents like plants or baskets add personality and warmth.
The final steps in building your kitchen corner bench with storage are all about adding those special touches that make the project truly yours. This stage is where you can infuse personality, ensuring the bench seamlessly blends with your kitchen's style and your home's overall aesthetic. Whether you're a fan of bright colors or love the natural look of wood, these finishing touches will elevate your bench from a functional piece to a centerpiece.
Applying Paint Or Stain
Deciding between paint and stain can significantly impact the appearance of your bench. Paint offers a splash of color, allowing you to match or contrast with your existing kitchen décor. Opt for a durable, washable paint to withstand daily wear and tear. If you prefer the natural grain of wood, a stain can enhance its beauty. Stains come in various shades, from light oak to deep mahogany, allowing you to choose one that complements your kitchen's color scheme. Always apply a protective sealant over the stain to prolong the wood's life.
Adding Decorative Elements
Once your paint or stain has dried, consider adding decorative elements to personalize your bench. Cushions are a great start, adding comfort and a pop of color. Choose fabrics that are easy to clean, especially in a kitchen setting. You might also think about adding trim or moldings to the edges for a more finished look. These can be painted or stained to match the rest of the bench. Accessories like throw pillows or a nearby plant can complete the cozy corner vibe.
Final Inspection And Adjustments
Before calling your project complete, take a moment for a thorough inspection. Check for any paint drips or uneven stain coverage that might need touch-ups. Ensure that all the storage compartments open and close smoothly without any creaks. Sit on the bench and feel its sturdiness. Does it wobble? If so, tighten screws or add additional support. This is your chance to make any last-minute adjustments, ensuring the bench is both functional and flawless. Do you feel satisfied with your creation? Remember, the finishing touches are what make your kitchen corner bench uniquely yours. What personal touches will you add to make it stand out?
Frequently Asked Questions
How Do I Start Building A Corner Bench?
To start, measure your kitchen corner for precise dimensions. Choose sturdy materials like plywood or MDF. Design your bench with storage in mind. Assemble the frame using screws and brackets. Ensure it's secure and level before adding the seating and storage compartments.
What Tools Are Needed For Construction?
Basic tools include a saw, drill, screwdriver, measuring tape, and level. You might need a jigsaw for intricate cuts. Sandpaper ensures smooth surfaces. A paintbrush or roller is necessary for finishing touches. Safety gear like goggles and gloves is essential for protection.
Can I Customize The Storage Options?
Yes, customization is possible. Design shelves, drawers, or cubbies to fit your needs. Use dividers for organized compartments. Consider adjustable shelves for flexibility. Choose materials that complement your kitchen decor. Opt for handles and hinges that enhance functionality and aesthetics.
How Long Does It Take To Build?
Building a corner bench can take a weekend. Preparation and planning are crucial for efficiency. Cutting and assembling materials can take a few hours. Finishing tasks, such as painting or staining, need drying time. Allow extra time for any unexpected issues.
Conclusion
Building a kitchen corner bench with storage transforms your space efficiently. It maximizes seating while keeping the area tidy. The project is simple and rewarding. You gain extra storage without clutter. The bench fits neatly in the corner, enhancing your kitchen's look.
Choosing the right materials is key. Ensure they match your kitchen style. Following these steps makes the task manageable. You now have a functional and attractive addition. Enjoy the practicality and style it brings. Invite friends over and show off your new creation.
A perfect blend of form and function.