
Imagine having a kitchen bench that not only enhances your culinary space but also offers smart storage solutions. Picture your busy kitchen, where every inch counts, transformed into a clutter-free zone.
By building your own kitchen bench with storage, you can achieve this practical and stylish upgrade. This guide is crafted just for you, to simplify the process and inspire your creativity. You’ll discover step-by-step instructions, tips, and tricks that make this project manageable, even if you’re not a seasoned DIY expert.
Ready to transform your kitchen and impress your friends with your new skills? Let’s dive in and start building!
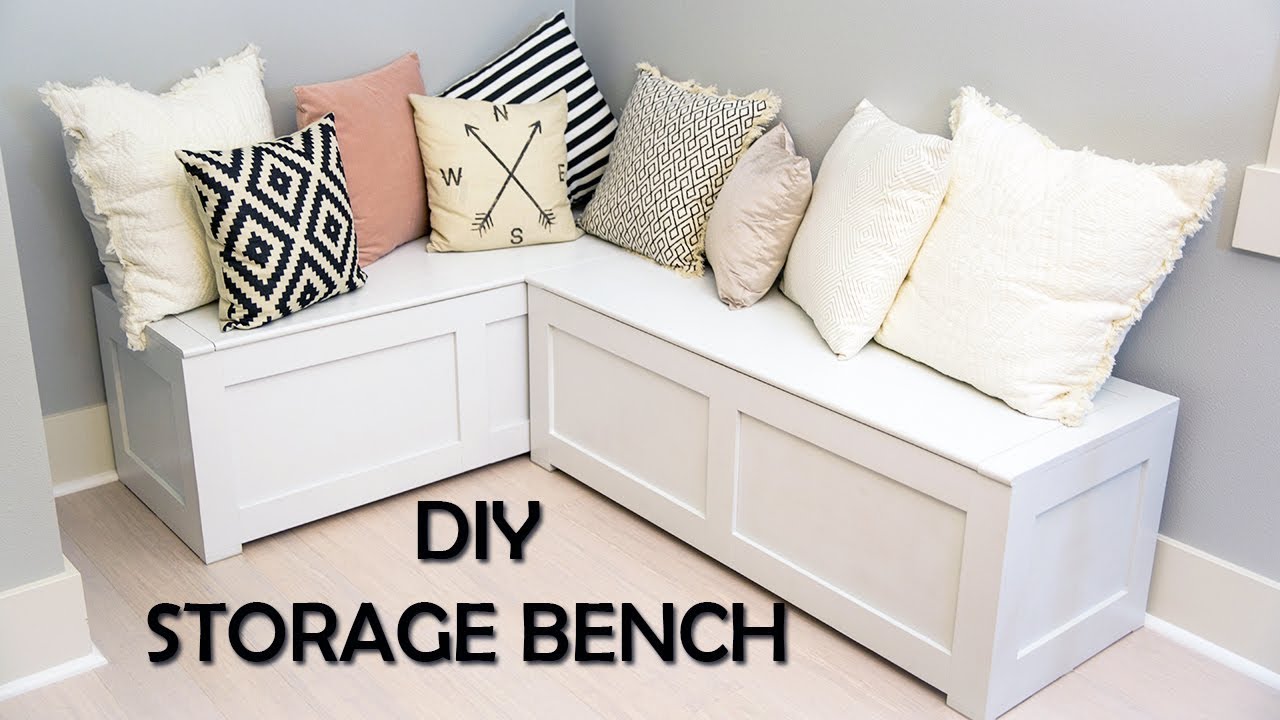
Credit: www.youtube.com
Choosing The Right Materials
Building a kitchen bench with storage requires selecting the right materials. This choice impacts durability, aesthetics, and sustainability. It's important to consider different types of wood, their durability, and eco-friendly options.
Types Of Wood
Different wood types offer various benefits for your kitchen bench. Pine is affordable and easy to work with. Oak is strong and has a classic look. Maple is known for its smooth surface, perfect for a polished finish. Each wood type brings unique qualities to your project.
Durability And Aesthetics
Durability is key in kitchen furniture. Hardwoods like oak and maple resist wear and tear. They maintain their beauty over time. Softwoods like pine may require more maintenance. Consider the aesthetic appeal too. Oak offers a timeless charm. Maple provides a sleek, modern appearance. Choose materials that match your kitchen style.
Eco-friendly Options
Eco-friendly materials are increasingly popular. Bamboo is sustainable and grows quickly. It’s strong and beautiful, a great choice for green projects. Reclaimed wood adds character and history to your bench. It reduces waste and preserves forests. Opt for materials that support environmental health.
Designing Your Bench
Designing your kitchen bench with storage is an exciting journey that combines functionality with style. It's not just about having extra seating; it's about creating a space that suits your lifestyle and needs. Whether you're looking to declutter your kitchen or add a touch of personal flair, a well-designed bench can make all the difference.
Measuring The Space
Start by measuring the area where you want your bench to go. Precision here can save you a lot of headache later. Use a tape measure to get the width, depth, and height of the space.
Consider the surrounding furniture and appliances. Will the bench fit comfortably without obstructing doors or walkways? It's crucial to visualize how your bench will interact with the rest of your kitchen.
Incorporating Storage Features
Think about what you need to store. Is it cooking utensils, seasonal items, or something else entirely? Knowing this will help you decide on the type of storage your bench should offer.
Drawers, shelves, or even hidden compartments can be great options. Make sure whatever you choose is easy to access and adds convenience to your daily routine.
Remember, the best storage solutions are those that blend seamlessly with your kitchen's existing design.
Selecting A Style
Your bench should reflect your personal taste while complementing your kitchen's decor. Are you drawn to modern designs with clean lines, or do you prefer something rustic and charming?
Consider the materials and colors that will best match your kitchen. Wood offers warmth, while metal provides a sleek look. Mixing materials can also add a unique touch.
Think about how this piece will represent you. What does your style say about your personality and the vibe you want in your kitchen?
Designing a kitchen bench with storage is about balancing aesthetics with practicality. As you embark on this project, ask yourself: How can this bench make my kitchen a more inviting and efficient space?
Gathering Essential Tools
Building a kitchen bench with storage is a rewarding project. It adds functionality and charm to your space. Before starting, gather the right tools. The right tools make the process smoother and more enjoyable. This guide will help you pick the essential tools.
Basic Carpentry Tools
Start with basic carpentry tools. A tape measure is crucial. It ensures accurate measurements. A saw is needed to cut wood pieces. A handsaw or power saw works well. A hammer is essential for nailing parts together. Don't forget a set of screwdrivers. They are necessary for fastening screws.
Safety Equipment
Safety is vital during any DIY project. Safety goggles protect your eyes from debris. Gloves protect your hands from splinters. A dust mask keeps your lungs safe from sawdust. Ear protection is useful if using power tools. Keep a first-aid kit nearby. It’s good for minor injuries.
Specialized Tools For Precision
For a polished finish, use specialized tools. A level ensures your bench is even. A carpenter's square helps achieve perfect angles. A power drill speeds up screw fastening. A sander smooths rough surfaces. It gives your bench a professional look. These tools enhance precision and quality.

Credit: www.reddit.com
Step-by-step Construction
Building a kitchen bench with storage involves measuring space, cutting wood, and assembling parts. Paint or stain the bench to match your kitchen. Add cushions for comfort and organize the storage space below.
Building a kitchen bench with storage is a rewarding DIY project that combines functionality and style. It's the perfect solution for those seeking extra seating and storage in one. With careful planning and a few tools, you can create a beautiful piece that enhances your kitchen space.
Building The Frame
Start by measuring the space where your bench will sit. Accurate measurements are crucial to ensure it fits perfectly. Use sturdy wood, like plywood or pine, to construct the frame. Cut pieces for the base, back, sides, and front. Assemble the base first using wood screws and a power drill. Ensure it's level and stable. Then, attach the back and side panels to form a box shape. Double-check for stability to prevent wobbling.
Adding Storage Compartments
Decide how many storage compartments you need. Think about what you plan to store. Cut divider panels from the same wood to fit inside the frame. These will separate your storage spaces. Secure the dividers with screws. Make sure they are evenly spaced and aligned. For additional organization, consider adding shelves or small drawers. This can maximize your storage efficiency.
Attaching The Bench Top
The bench top is the finishing touch and where you'll sit. Choose a durable and comfortable material. Cut the bench top to match the dimensions of your frame. Sand the edges to smoothen them. Attach the bench top using hinges or brackets. This allows easy access to the storage compartments below. Secure it firmly to ensure it stays in place during use. Consider adding a cushion for extra comfort. By following these steps, you not only create a practical piece but also add a personal touch to your kitchen. What creative ideas do you have for your bench design?
Finishing Touches
Adding finishing touches creates a polished look for your kitchen bench with storage. Consider paint or stain for a sleek finish. Install handles and cushions to enhance functionality and comfort.
Adding the finishing touches to your kitchen bench with storage can be the most rewarding part of the project. This is where your hard work starts to shine and you get to add your personal flair. It's all about the details that transform your bench from a basic build to a beautiful and functional piece of furniture.
Sanding And Smoothing
Sanding is essential to ensure a smooth finish on your bench. Start with a coarse grit sandpaper to remove rough edges and imperfections. Gradually move to a finer grit for a silky surface. Always sand along the grain of the wood. This prevents scratches and helps achieve a professional look. If you're like me, you’ll find this process oddly satisfying, as it’s the first glimpse of your finished piece.
Painting Or Staining
Decide whether you want to paint or stain your bench. Paint can add a pop of color, while stain enhances the natural beauty of wood. Consider the style of your kitchen and how the bench will fit in. Apply a primer before painting to ensure the color adheres well. If staining, use a pre-stain wood conditioner to avoid blotches. Remember to apply in thin, even coats and let each layer dry thoroughly before adding another.
Installing Hardware
The right hardware can elevate the look of your bench. Choose knobs or handles that complement your kitchen's aesthetic. Think about practicality as well as style when selecting hardware. Installing hardware is straightforward. Measure accurately and drill pilot holes to prevent the wood from splitting. I’ve learned that a little patience here goes a long way in preventing mistakes. Are you excited about seeing your kitchen bench come to life? Each finishing touch brings you one step closer to a functional masterpiece. What personal touches will you add to make it uniquely yours?
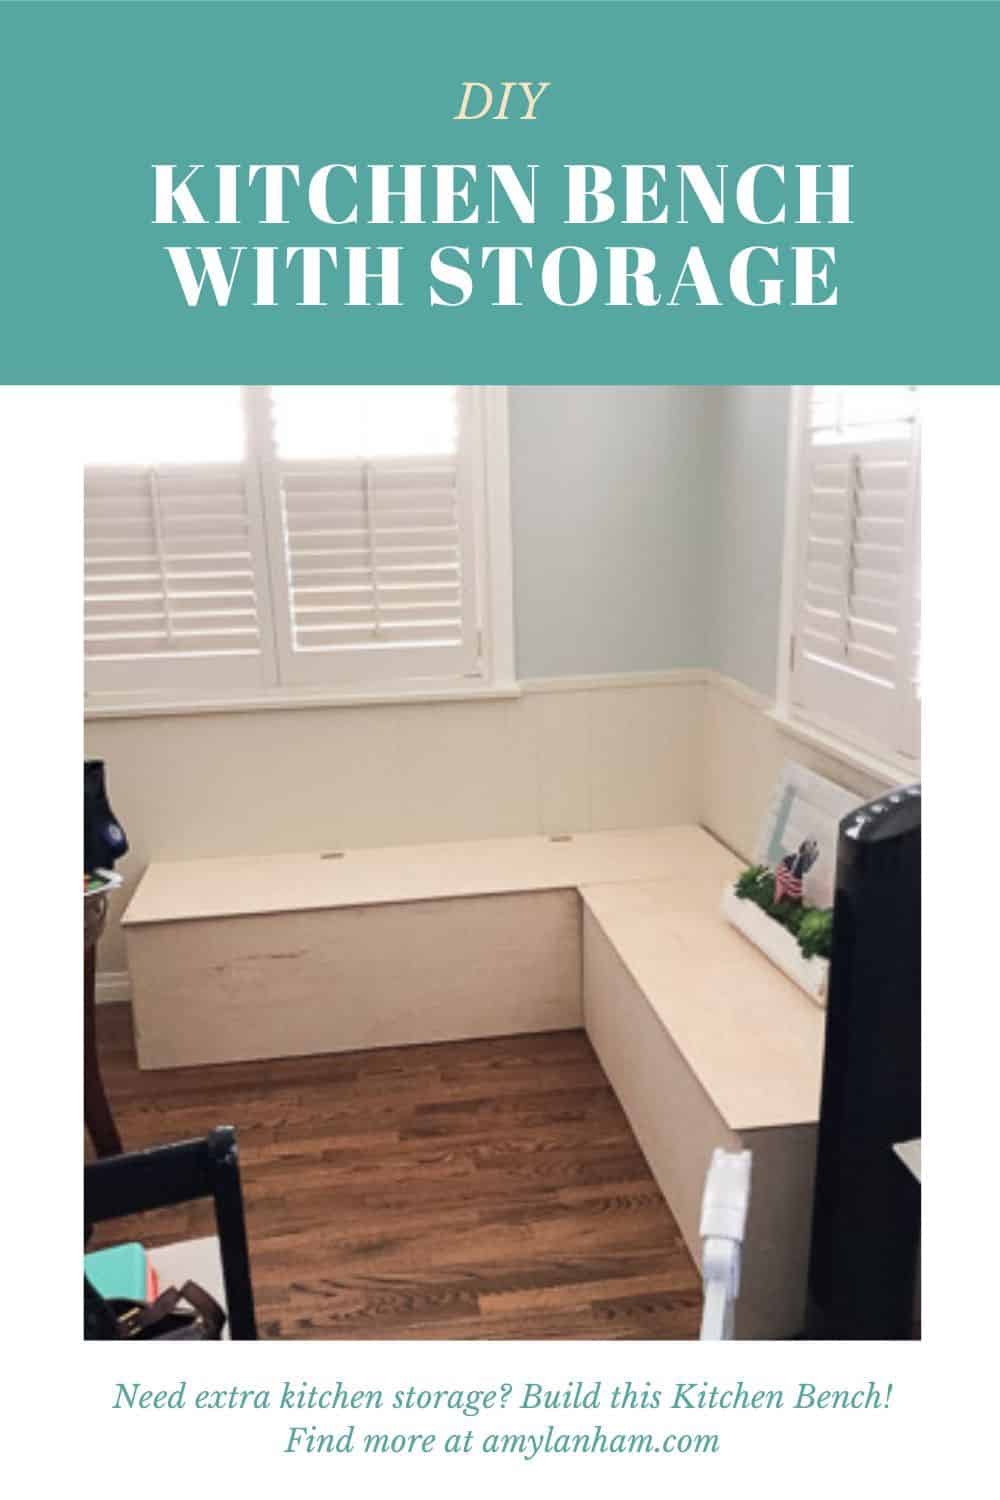
Credit: amylanham.com
Maximizing Storage Efficiency
Create extra space and style in your kitchen by building a bench with storage. Use sturdy materials to ensure durability. Choose designs that blend well with your kitchen decor. Keep frequently used items easily accessible, maximizing both storage and functionality.
Maximizing storage efficiency in your kitchen bench can transform your space into a clutter-free haven. Imagine a bench that not only provides seating but also offers smart storage solutions for your kitchen essentials. With a bit of creativity and planning, you can create a bench that serves both form and function, making your kitchen more organized and inviting.
Organizational Tips
Start by assessing what you need to store. Are you looking to keep everyday items like pots and pans, or do you need a place for seasonal cookware? Knowing what you want to store helps in designing the compartments effectively. Consider how you access these items. Store frequently used items in easily accessible spaces, and reserve the back or lower sections for items you rarely use. A clear organization plan saves time and reduces frustration.
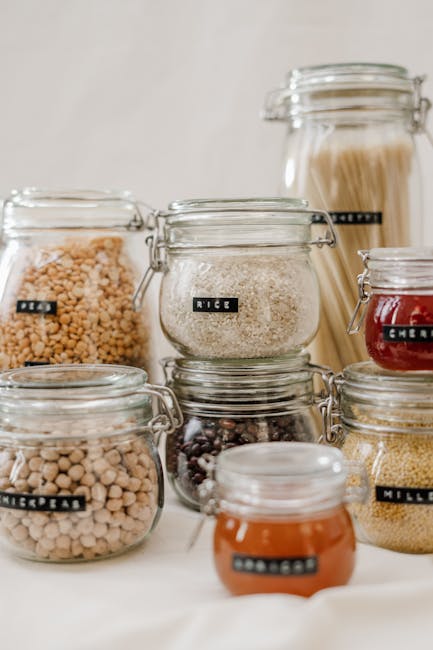
Utilizing Baskets And Bins
Baskets and bins are excellent for grouping similar items. They keep smaller items from getting lost and make it easy to pull out everything you need at once. Choose baskets that fit your style and the bench dimensions. For instance, woven baskets can add a rustic charm, while clear bins offer a more modern look. Labeling baskets and bins can further enhance organization. Labels ensure everyone in the household knows where to find things and where to return them, maintaining order.
Customizing Storage Solutions
Customizing your kitchen bench storage allows you to tailor it to your specific needs. Think about adjustable shelves or dividers that you can move based on the size of the items. If you cook a lot, consider adding a pull-out drawer for utensils or a hidden compartment for recipe books. These small changes can make your cooking experience smoother and more enjoyable. Personalize your storage with hooks or rods for hanging items like cups or towels. What unique storage solution would make your kitchen life easier? Let your creativity flow and make your kitchen truly yours.
Maintenance And Care
Building a kitchen bench with storage requires regular maintenance for longevity. Clean surfaces with mild soap to prevent stains. Inspect hinges and screws to ensure stability and safety.
Maintaining and caring for your kitchen bench with storage is crucial to preserving its functionality and aesthetic appeal. A well-maintained bench not only lasts longer but also continues to add value to your kitchen space. By investing a little time in regular maintenance, you can avoid major repairs and keep your bench looking like new. Let's dive into the essential steps to ensure your kitchen bench remains in top shape.
Cleaning Techniques
Regular cleaning prevents dirt and grime buildup, which can damage your bench over time. Use a mild detergent mixed with warm water to wipe down the surface. A soft cloth or sponge works best to avoid scratches. Pay attention to the corners and edges where dust often accumulates. For stubborn stains, a paste of baking soda and water can be effective. Remember to rinse with clean water and dry the surface thoroughly. Consider making cleaning a part of your weekly routine. A clean bench not only looks good but also creates a healthier environment in your kitchen.
Repairing Damages
Minor damages such as scratches or dents are inevitable with regular use. Don't let them discourage you. You can easily repair small scratches with a wood filler or touch-up pen that matches your bench's finish. For deeper dents, you might need to sand down the affected area slightly before applying a filler. Always follow the manufacturer's instructions for any repair products you use. If you're unsure about handling a repair, consulting a professional might be worth the investment. What’s the point of a beautiful kitchen bench if it’s not well-maintained?
Protective Coatings
Applying a protective coating can be a game-changer for your bench's longevity. Sealants or varnishes can help protect the wood from moisture and daily wear. Opt for a product that suits the material of your bench. If it's wooden, a polyurethane coating might be ideal, while metal benches might benefit from a rust-resistant sealant. Reapply the protective coating as recommended by the product guidelines. This simple step can significantly extend the life of your kitchen bench. By following these maintenance and care tips, you ensure that your kitchen bench remains a functional and stylish feature in your home. Are you ready to give your bench the care it deserves?
Frequently Asked Questions
What Materials Do I Need For A Kitchen Bench?
To build a kitchen bench with storage, you'll need plywood, screws, wood glue, sandpaper, and paint or stain. Consider hinges for lids and handles for drawers. Ensure materials are durable and suitable for kitchen environments.
How Long Does It Take To Build?
Building a kitchen bench with storage can take 1-2 days. Time depends on your experience and the complexity of the design. Allocate time for cutting, assembling, and finishing.
Can I Customize The Storage?
Yes, you can customize storage based on your needs. Decide on open shelves, drawers, or cabinets. Consider using dividers for better organization and accessibility.
What Tools Are Required For Construction?
You'll need a saw, drill, measuring tape, screwdriver, and sander. A level ensures stability and accuracy during assembly. Safety gear like gloves and goggles is also recommended.
Conclusion
Building a kitchen bench with storage is a rewarding project. It combines functionality and style in your home. Start with the right tools and materials. Follow the steps carefully for best results. Measure twice, cut once. Safety is important, so wear protective gear.
Enjoy the extra seating and storage space. Invite friends and family to admire your work. This project enhances your kitchen's look and utility. You can now organize better and keep things tidy. Feel proud of your DIY achievement. Happy building!